Audition Interviews
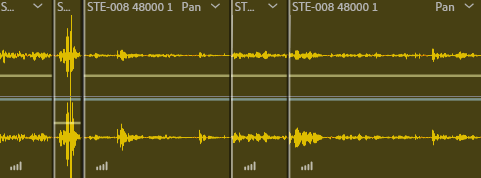
I edited Heather's interview recording on Audition. I removed parts where she would stutter, or parts of the recording where we would laugh or other noises in the background. Heather's is the longest out of the three of them and hers is also the quietist but, loud enough to still hear her. There is a screenshot below to show what I did.

I also edited Emily's voice interview. I preferred Emily's voice over compared to the other two, as she was louder but not too loud that it hurts your ears, her voice was also clear. The only problem was that she stuttered too much and too long so I had to cut out a lot, this was cause she couldn't think of what to say most of the time and would laugh so, I cut all of that out. Below is a screenshot of showing what I did.

This was the last recorded interview that I edited. Natasha's recording was really short and quick, (which I liked) and there was no laughing or stuttering on this recording which made it much easier to edit. The only problem with her recording was that at some parts she was really loud and it hurt my ears so, what I did was cut that specific part then lowered the volume on her voice so it sounded like it fitted. Below is a screenshot of what I did.
Sound Recording
Today we learned how to use recording equipment. I used the Zoom H4N, and because I did level 2 last year I already knew how to use the equipment, so we was partnered up in groups and I had to help the people who had never used this equipment before. I taught them how to turn it on and off I also helped put their SD cards in. I also taught them how to record from the microphones on the top of the recorder. The only thing we didn't learn was how to connect this piece of equipment to a professional microphone.
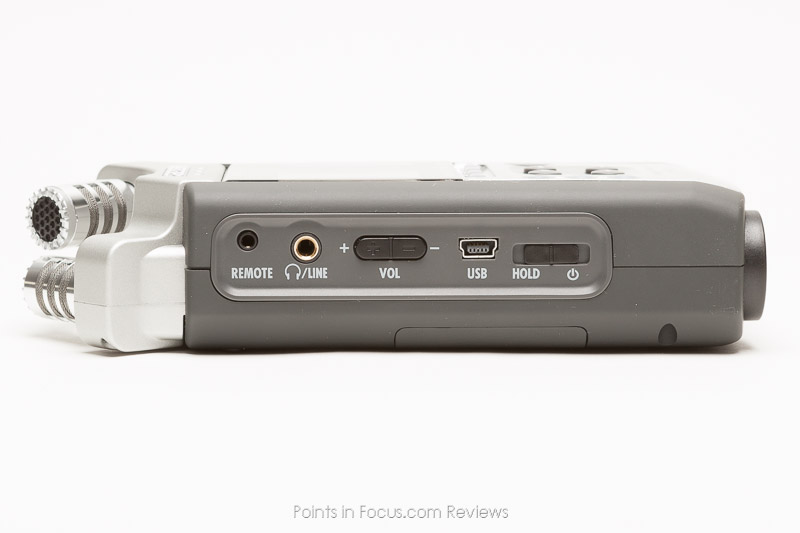
On this side you hold down the moving button down for a few seconds then the recorder will turn itself on. You also can use headphones to listen to the quality of the recording to make sure it's not too loud or too quiet. Then underneath that input you have two buttons underneath to make the volume louder or quieter, as you can either listen to your recording through the recorder or on a PC or Mac.
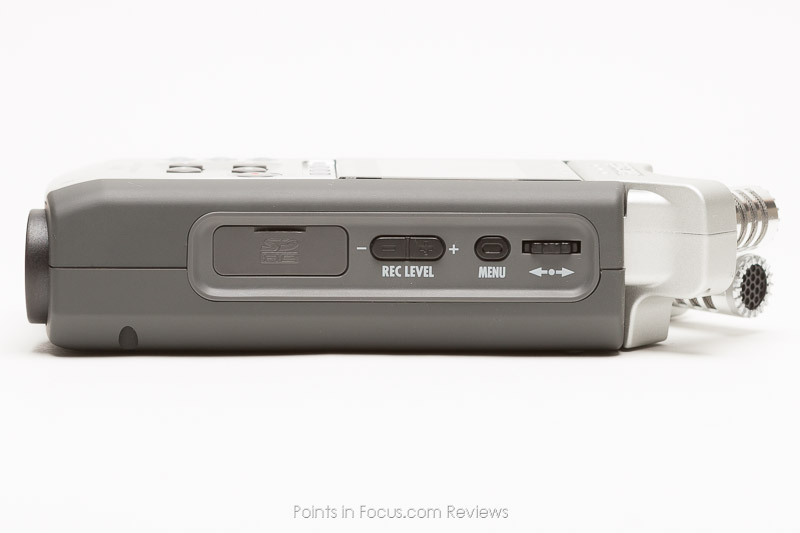
Then on the right side you have the SD card input, this recorder takes a normal SD card, and that's so your recordings can be saved and put on either a Mac or PC. Then you have the recording level, this is used so your recording can be louder or quieter, this can help for if you can't get too close to what you want to record then you can be further back.
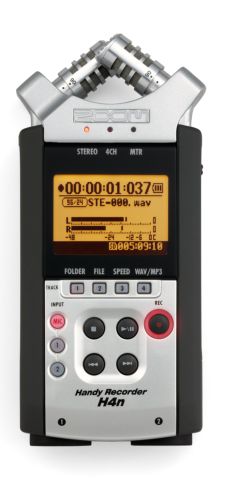
This is the front of the Zoom H4N and on the front you would press the red record button once to turn the microphone on so you can hear how the recording will sound like. Then you press the button again to actually start the recording, then the numbers will start to go up telling you how long you've been recording for, also the bars will tell you how loud what your recording is. Then above that you have the battery percentage. Then once you have finished recording you would press the button with a square on to save the recording and stop it.
Recording Around the College
We got put in groups and had to go around the college to see how different places would affect the recording. We got multiple recording throughout the college using a lavaliere microphone. We recorded in four different places.
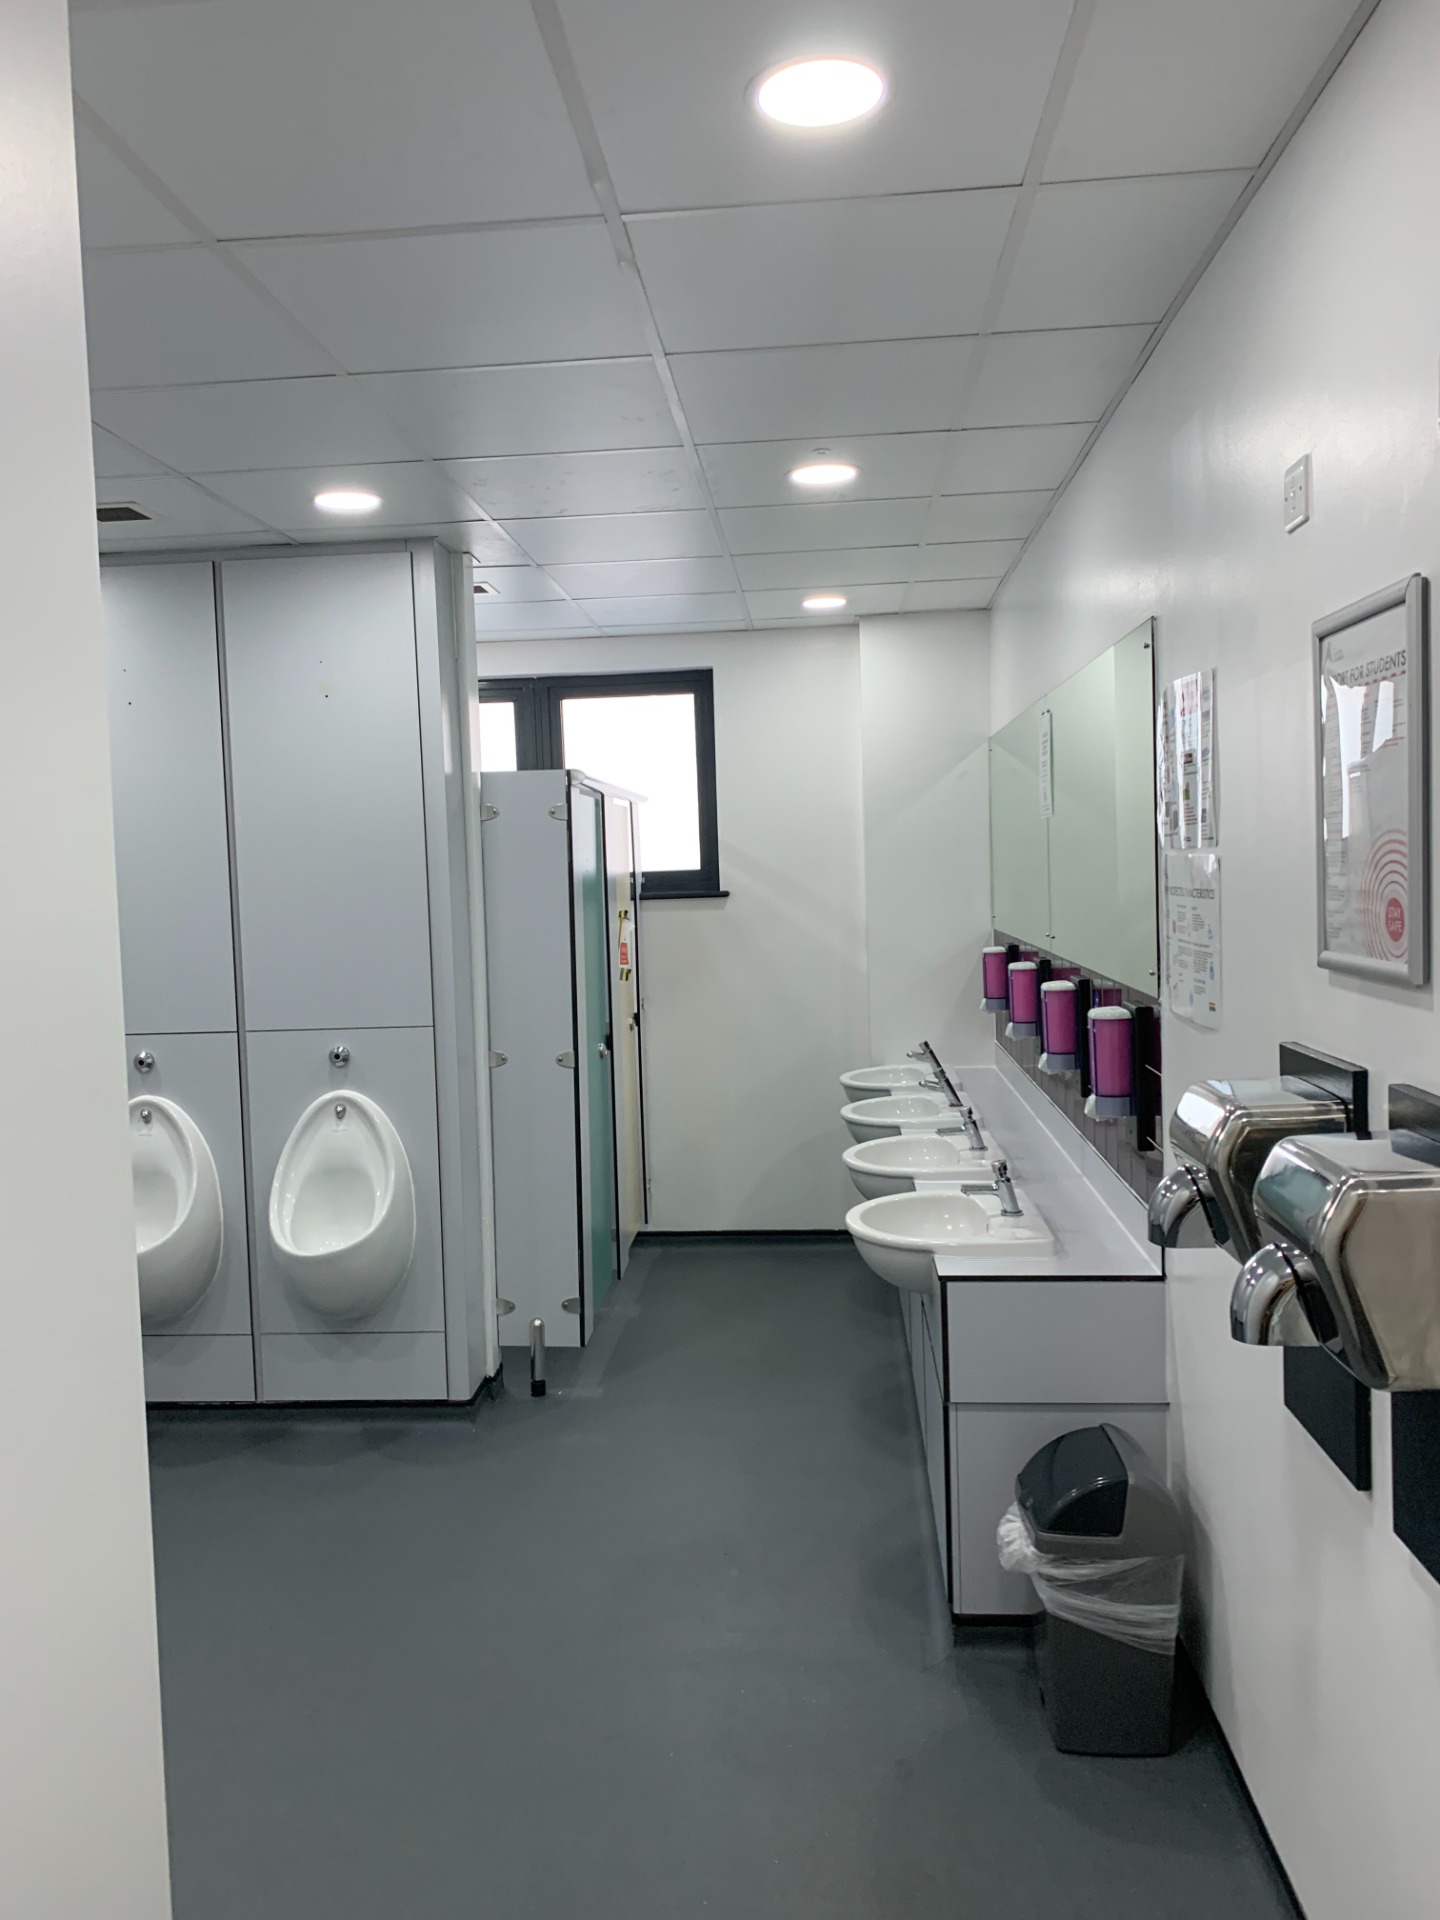
We first recorded in the men's toilets, here it had lot's of reverb even though it was a small room. Below is a picture as well to help show what the toilet looked like.
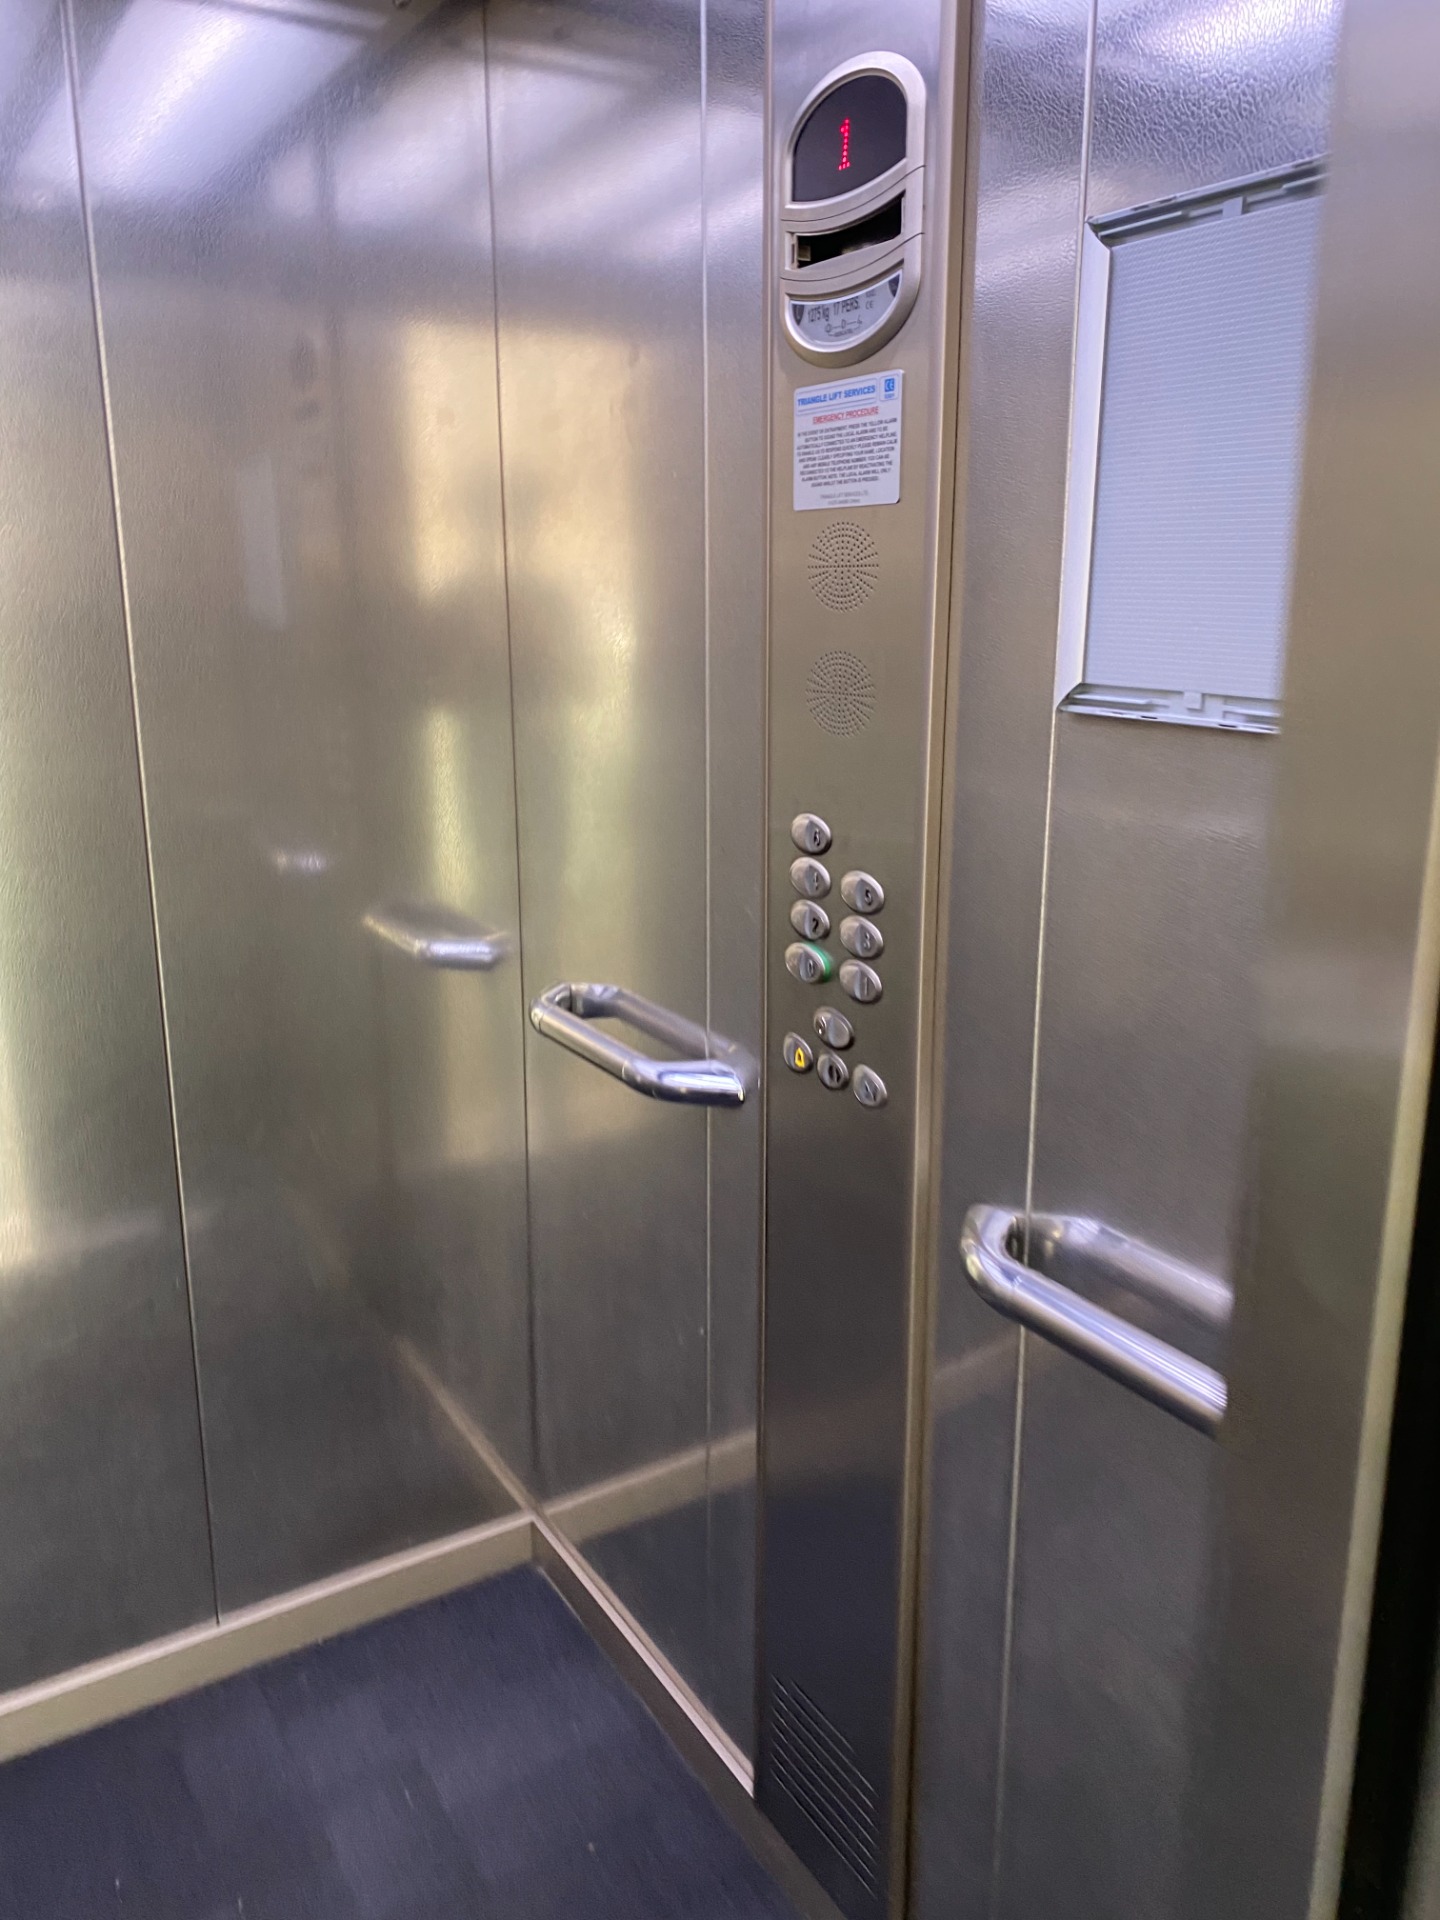
We then recorded in the elevator. The elevator wasn't too bad to record in, the elevator was really small in size so the recording didn't have much reverb or any disturbance due to it's size. Below is a picture of the elevator to show the size and what it looks like.
We then went outside to record with our microphone. Outside the reverb was good, the only problem was the noises from the outside that disrupted the audio for example cars, people, and the wind. Down below is a picture of outside to show what it looks like.
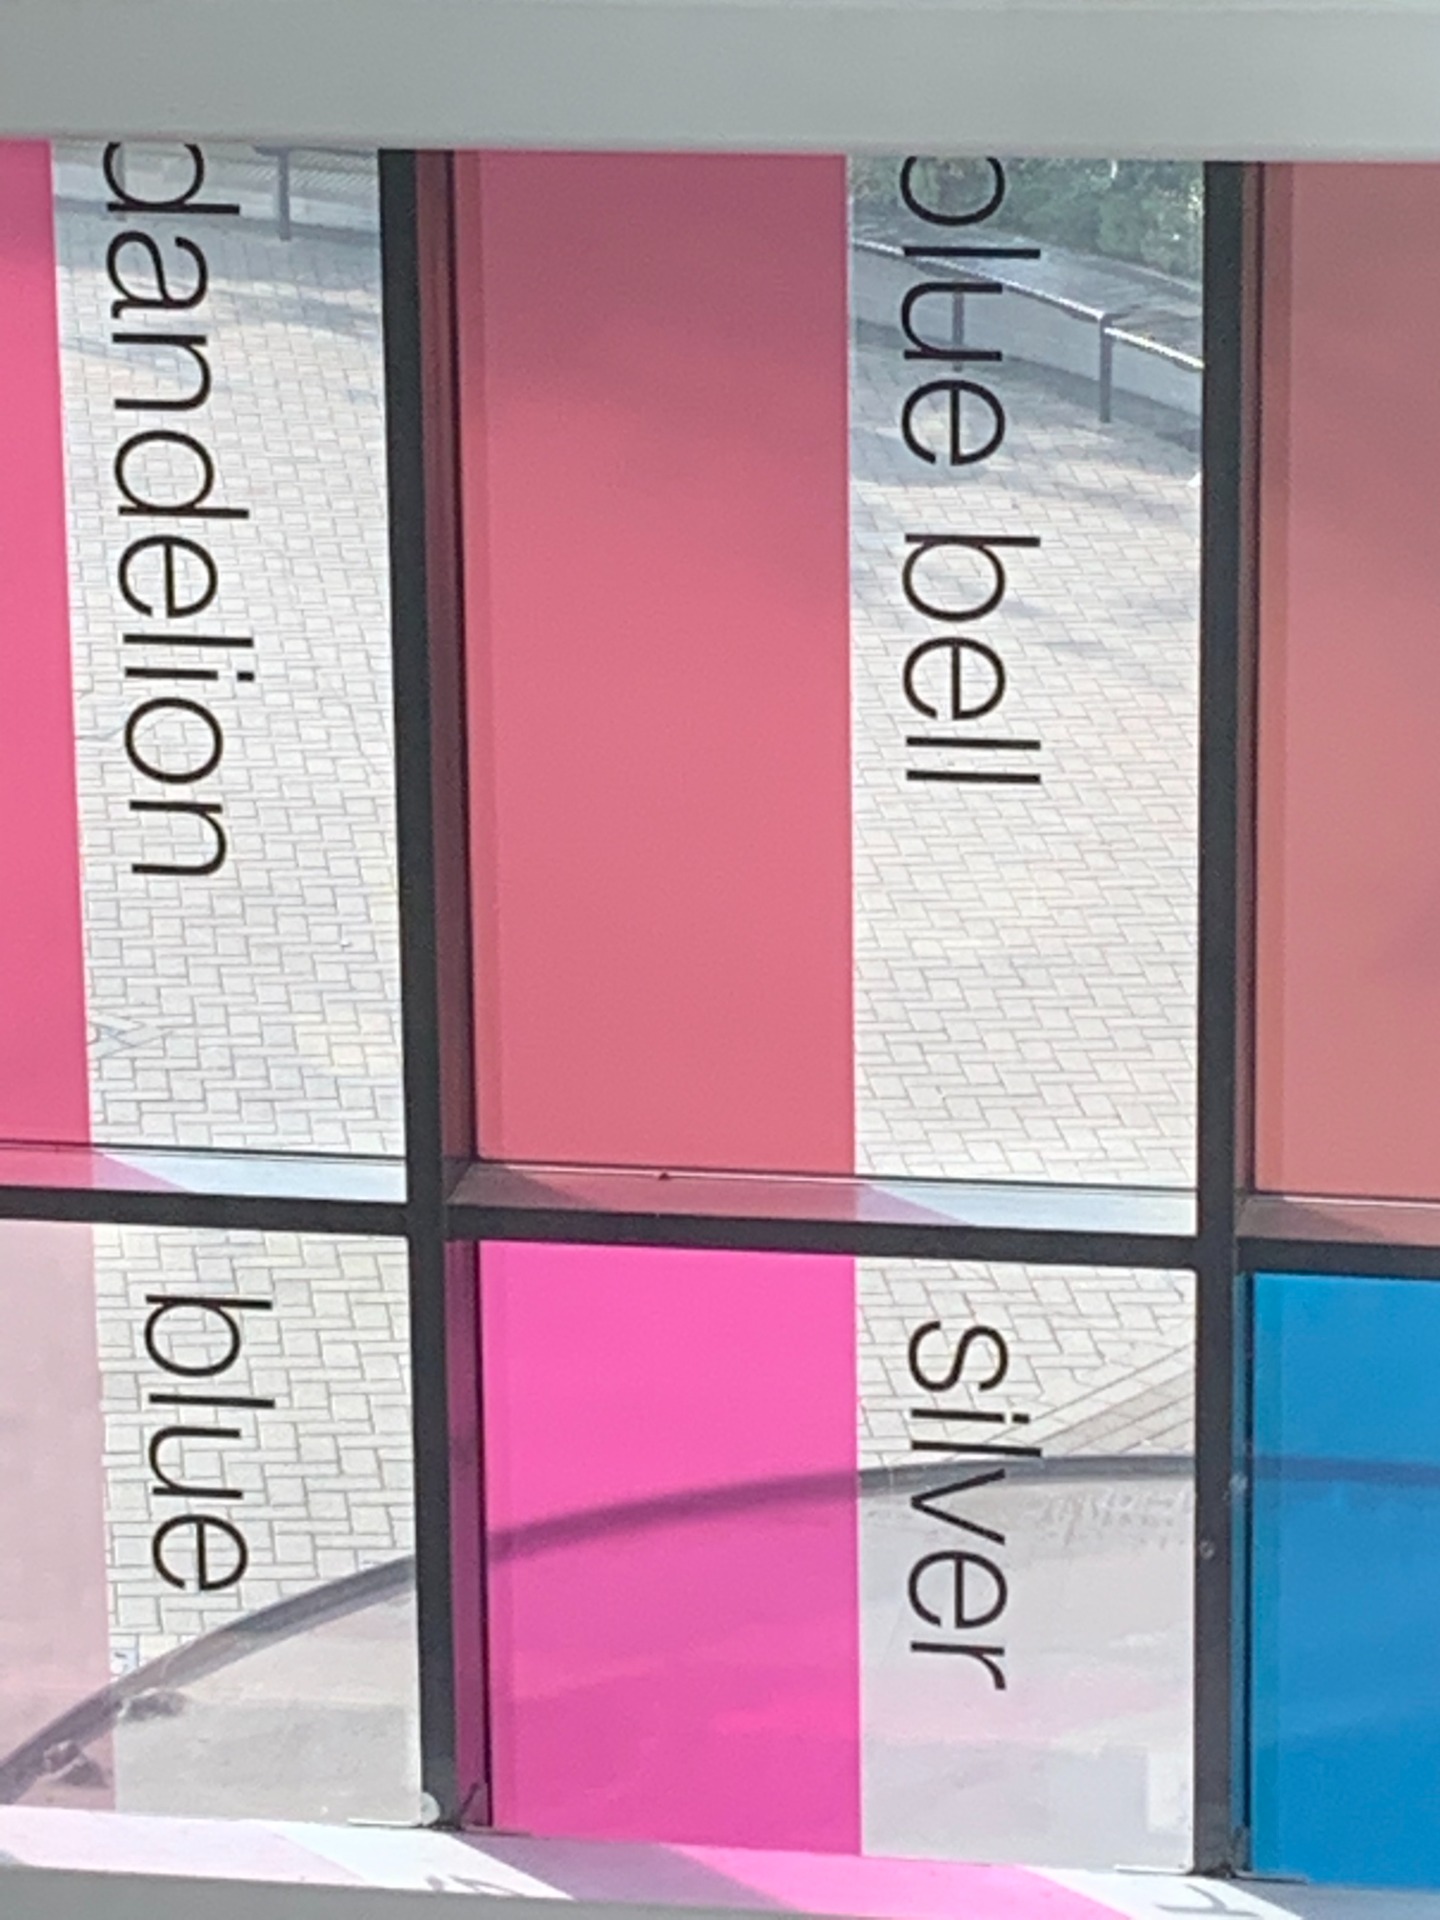
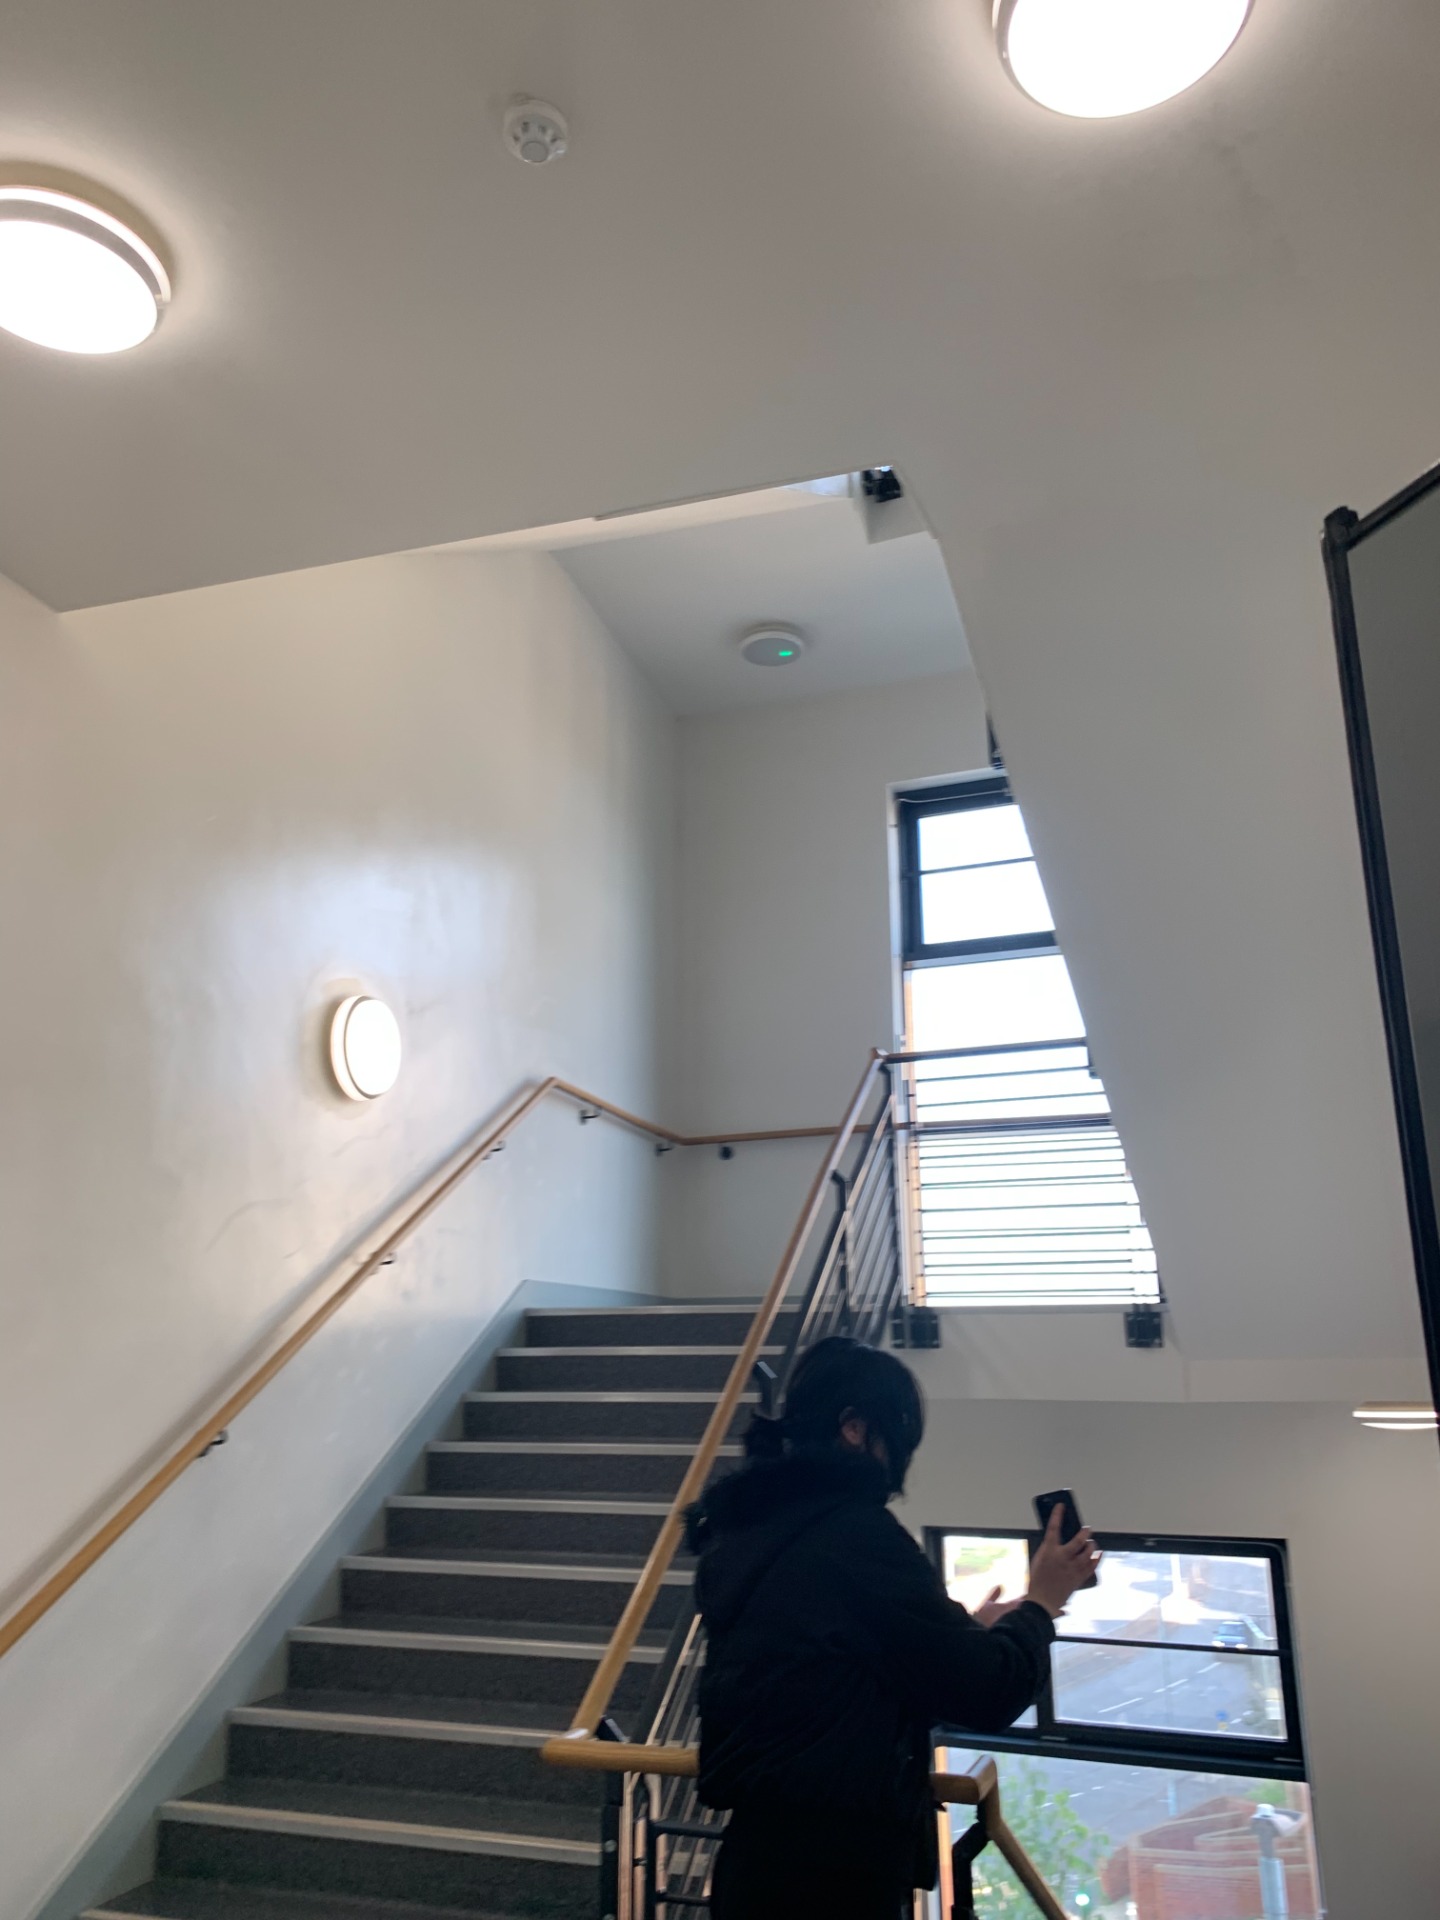
Finally we recorded on the stairs inside the college. The stairs are massive so the reverb was big, we could hear ourselves multiple times if we said something. Down below is a picture of what a part of the stairs looks like.
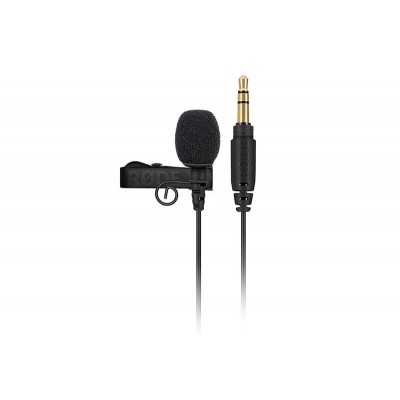
Below is a picture of what the lavaliere microphone looks like. This type of microphone would be used for interviews or close up audio for recordings. You would need a zoom recorder to be able to use one of these then it would turn on and work.
Journey to College
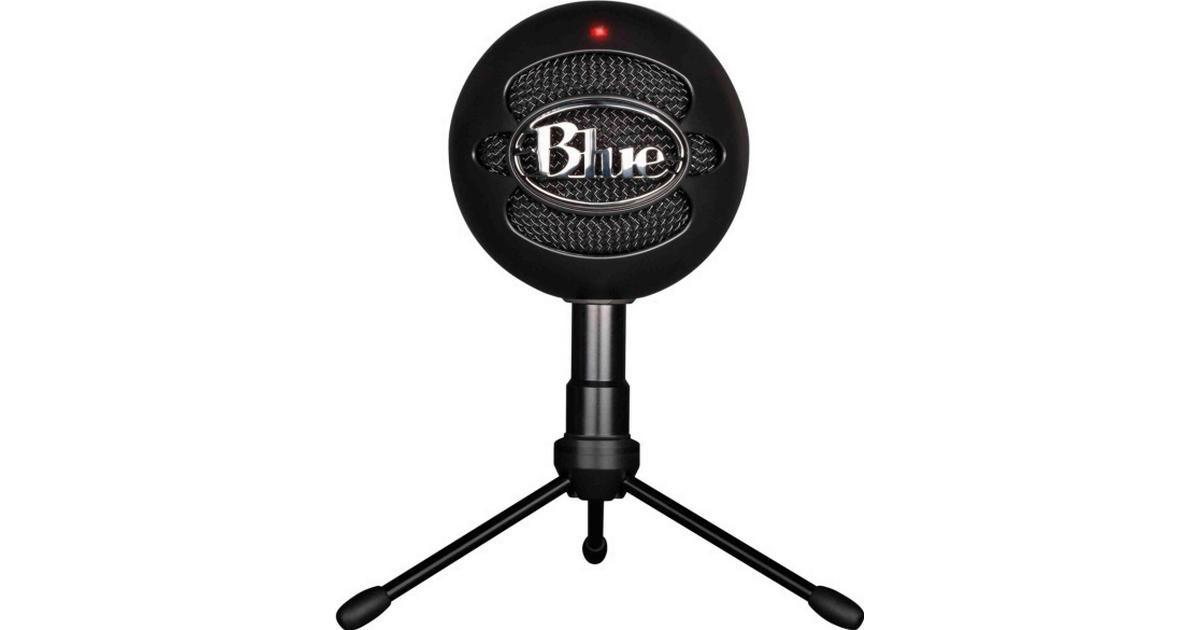
This is my voice recording of my journey to college in the morning. I used a snowball microphone to record my audio. I thought that the audio would get disrupted due to noise in the background from the air conditioning within the room but, it didn't disrupt the audio at all. There is a picture of the snowball microphone below. To use this all I had to do was plug the USB into the Mac then it was able to be recorded.
This is my script for the audio recording above.
Howdy I'm Austin and I'm 18 years old.
I wake up at 8 o'clock every single day.
Then I get up brush my teeth go to the toilet then put my bed away.
I then get my clothes out prepared for my day.
Then I'll turn on my PlayStation, and play whatever game I feel like playing.
Then depending on when I start is what time I'll leave.
Then I'll get changed, pack my bag for college and meet up with Izzy to walk to college.
Then I'll head up to my lesson and then begin the day.
