Pre-Production
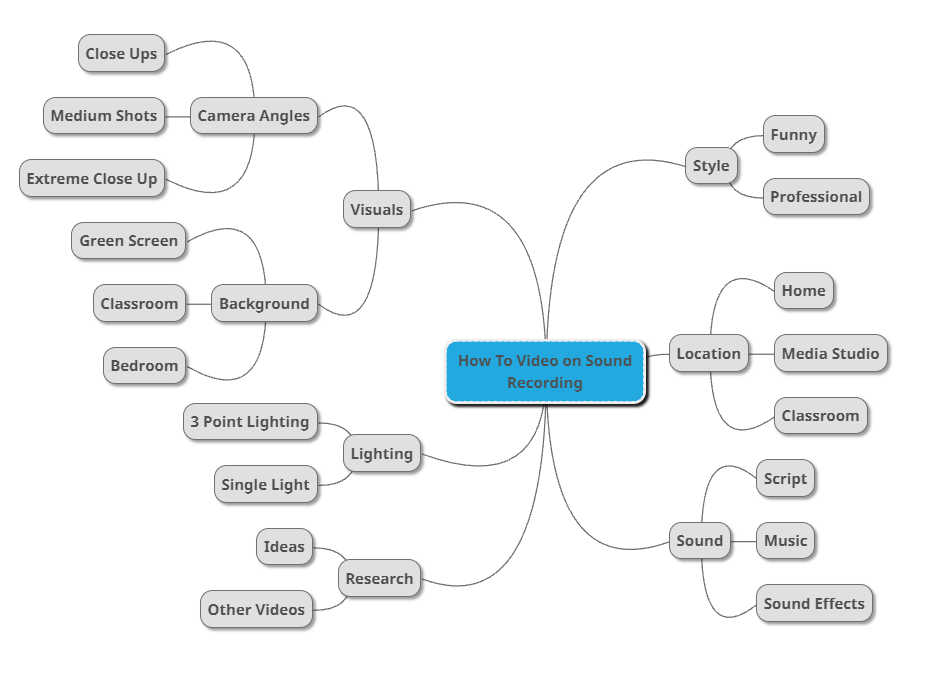
This is my Mind Map that I created using MindMup2, I put my initial idea in the middle then I put my other ideas and what I could do around my main idea. This is to help me decide what I can use and what I will choose to use. This also helps to see what I can use and what other choices I have.

This is my proposal document, this is used to show what I'm doing, where I'm recording and what other things I will be using. This is just a de-brief of what I will be doing.
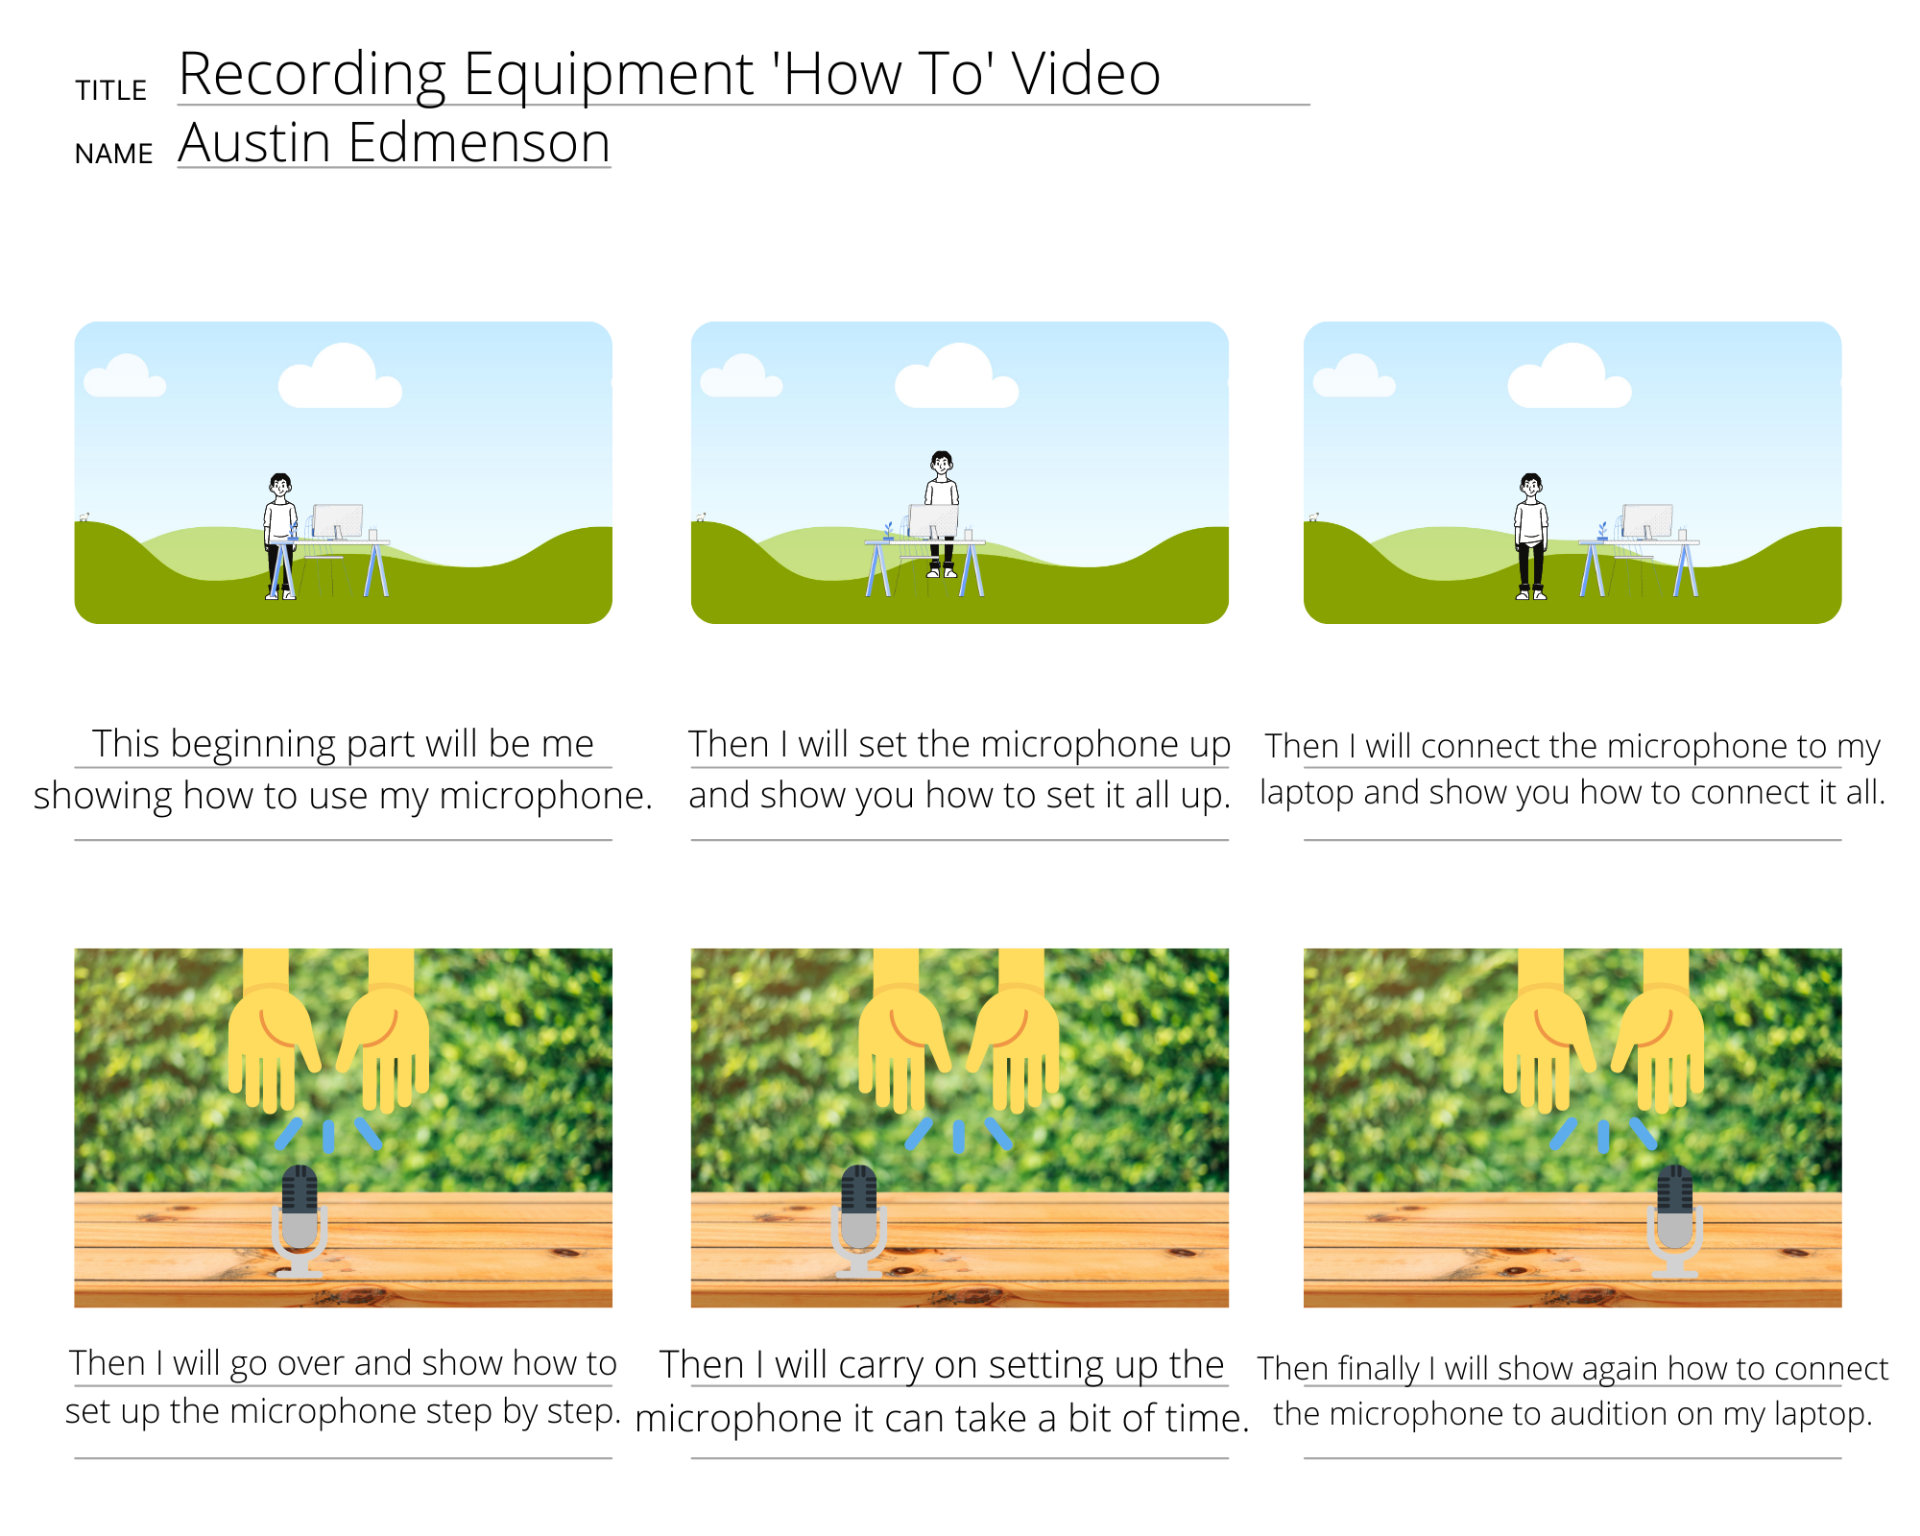
This is my storyboard for my how to video for recording equipment. Below is some text for what I will be doing or showing during that scene. This is used to give a better idea of what I will be doing and how it will be done. To create this I used a software called canva, to create this I used a pre-made template then added pictures from the item category.
https://www.canva.com/design/DAEsgmDwFOE/UA9o0ALZn-sxC9A56pUMPw/edit

Planning
- Start the frame with me behind the equipment, explaining what I will be talking about.
- Show how to set it up from a distance, with me in the frame.
- While talking into a microphone, and also talking about setting up my microphone.
- Then record a bird's eye view of my microphone being built step by step.
- Then show how to connect to audition, and show how it can run.
- Finally finish the how to video with me saying goodbye.
Location Recce
This is my location recce, this is used to show where I will be filming my how to video, and that I am allowed to use the space that I have chosen.
Risk Assessment
The risk assessment is used to make sure that where I'm filming is safe to film in. So in this file I have also made up risks that could happen and what I would do to prevent them from happening.
Production Schedule
Production schedule is used to show what I will be doing next and how long it will take to create. It also helps to show others when I will have things done by and what I'll be completing next.
Shot List
The shot list is used to show what camera shots I will be using and what I will be doing while this camera angle is happening.
Script
Hello and welcome to my How To video on my Elegiant Microphone.
So first get the microphone out of the packaging, and here you can see everything I will be showing you.
First you get the tripod out, and open it up.
Next you get the microphone holder and twist it on so it will stay connected to the tripod.
After you feed the USB part of the microphone through the microphone holder, this is quite easy as all you need to do is pull the wire through the rubber bands.
Then when you get to the actual microphone all you need to do is push it in, as the rubber bands will expand around the microphone allowing it to be held up.
Then on the microphone holder you can loosen this bolt on top, and put through the mouth guard holder. Once you've done this screw the bolt back down so it holds the mouth guard still. Now you can place the actual mouth guard onto the microphone so now your voice will become more clearer.
Then you plug the USB port into your Windows PC. Then open up Audition and connect the microphone to audition.
To make sure the microphone is connected you must go onto edit, then preferences, then audio hardware. Then a menu will pop up telling you to adjust the input and output audio, you will change the input to K38 and this will then allow you to speak through the microphone.
Now you go back to the microphone and press the button on the top, this will turn the actual microphone on. There you can see when you talk the bars move up and down depending on how loud you are.
And that's it, thank you for watching my how to video on my Elegiant microphone. See you!
